Campfire Nachos. Photos: Chris Emeott
Some foods just taste better cooked over an outdoor flame.
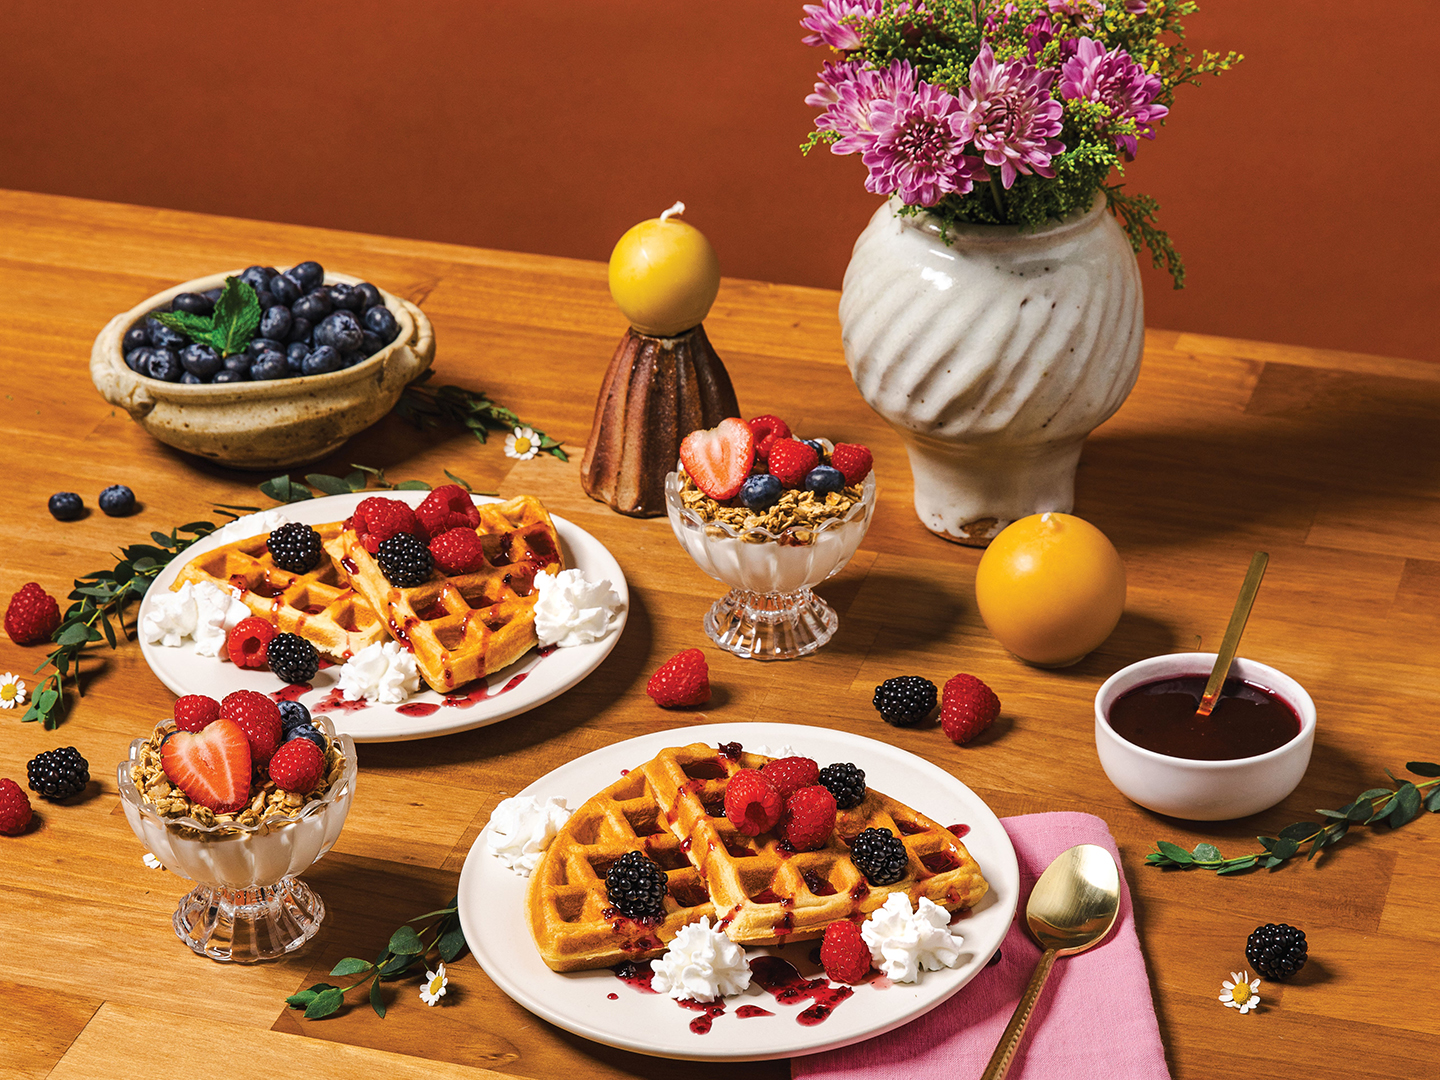
Let’s be clear; we will always support s’mores as the campfire foodie champ. No doubt. No question. No argument. But, as Minnesotans, we appreciate making the most of our time outdoors, and that includes during gatherings around a bonfire at home, the lake or a campsite. Can we agree that we need more than chocolate, graham crackers and marshmallows to share around the fire?
When thinking about sharing some bonfire-friendly recipes, we had some parameters: Was the recipe somewhat easy to assemble outside with only flames and moonlight offering illumination? Did the fun factor hit most age groups? And would the recipe keep everyone in their seats, sharing stories (spooky and otherwise!), cracking wise and spending precious time with family and friends? After all, outdoor living is one of the best ways to spend time together in the Bold North.
We turned to our resident camper and outdoor living enthusiast Brittni Dye, our production director. At all times of year, she and her family can be found living their best lives, gathered around a campfire with good friends and good food.
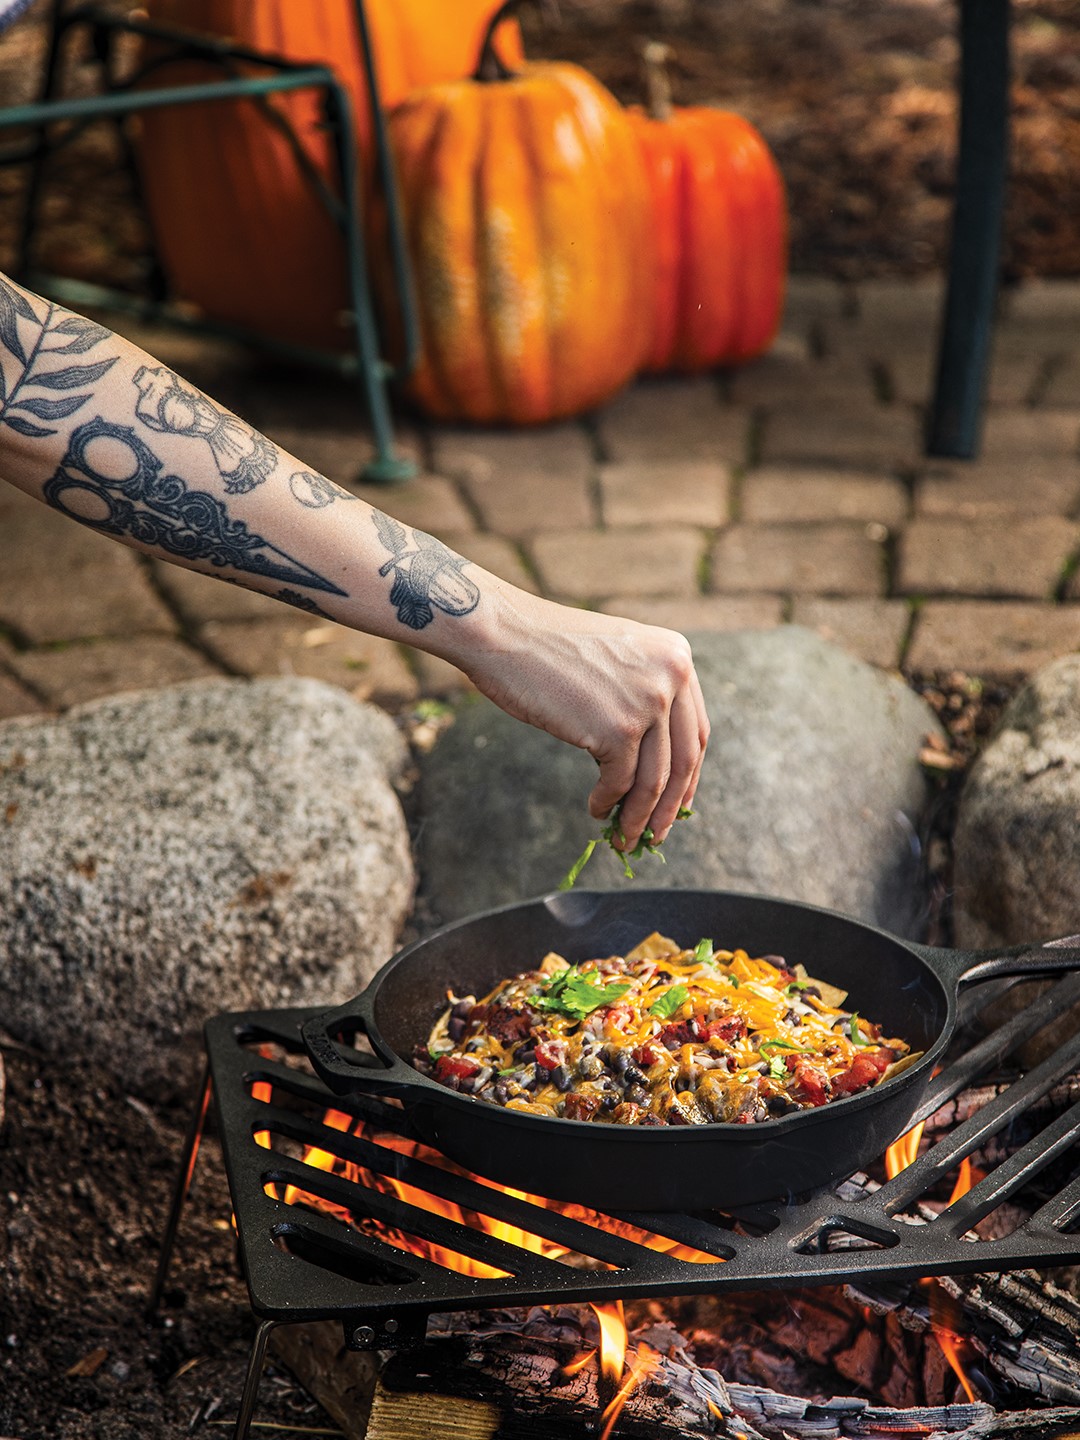
Campfire Nachos
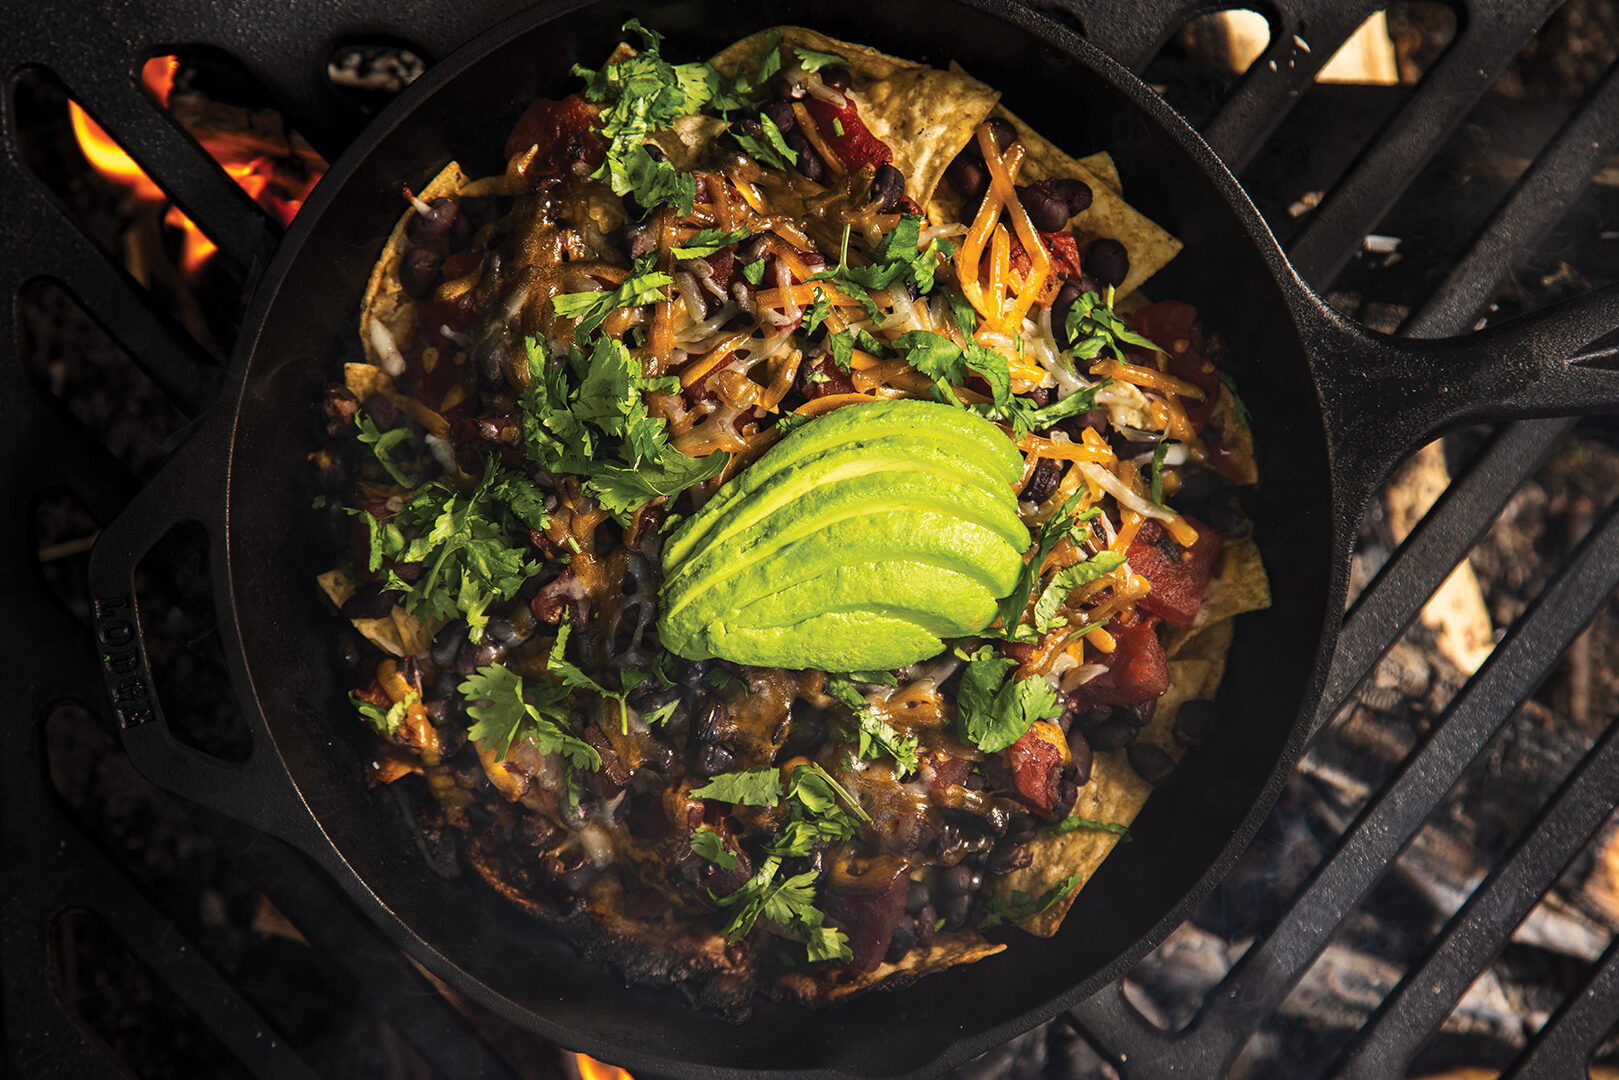
Put your cast iron skillet to good use over the campfire with these cheesy nachos, which are great for a crowd. We give added bonus points for being a vegetarian option that you can eat right out of the skillet—no extra plates! Tip: Use a grill grate.
- vegetable or canola oil, to prep the skillet
- tortilla chips
- 15 oz. black beans, rinsed and drained
- 1 can of diced tomatoes and green chilies, drained
- Mexican cheese blend, shredded
- 1 large avocado, cubed
- cilantro, chopped (optional)
- lettuce, shredded (optional)
- lime, quartered (optional)
- sour cream (optional)
- aluminum foil
Oil the cast iron skillet to prevent sticking. Layer ingredients, starting with the tortilla chips, followed by beans, tomatoes/chilies, cheese and avocado. Repeat layers. Loosely cover the skillet with aluminum foil; place it on the grill grate. Let the nachos warm up for 5 minutes or until the cheese melts. Remove from the campfire; top with optional toppings.
Campfire Bacon-wrapped Jalapeño Poppers
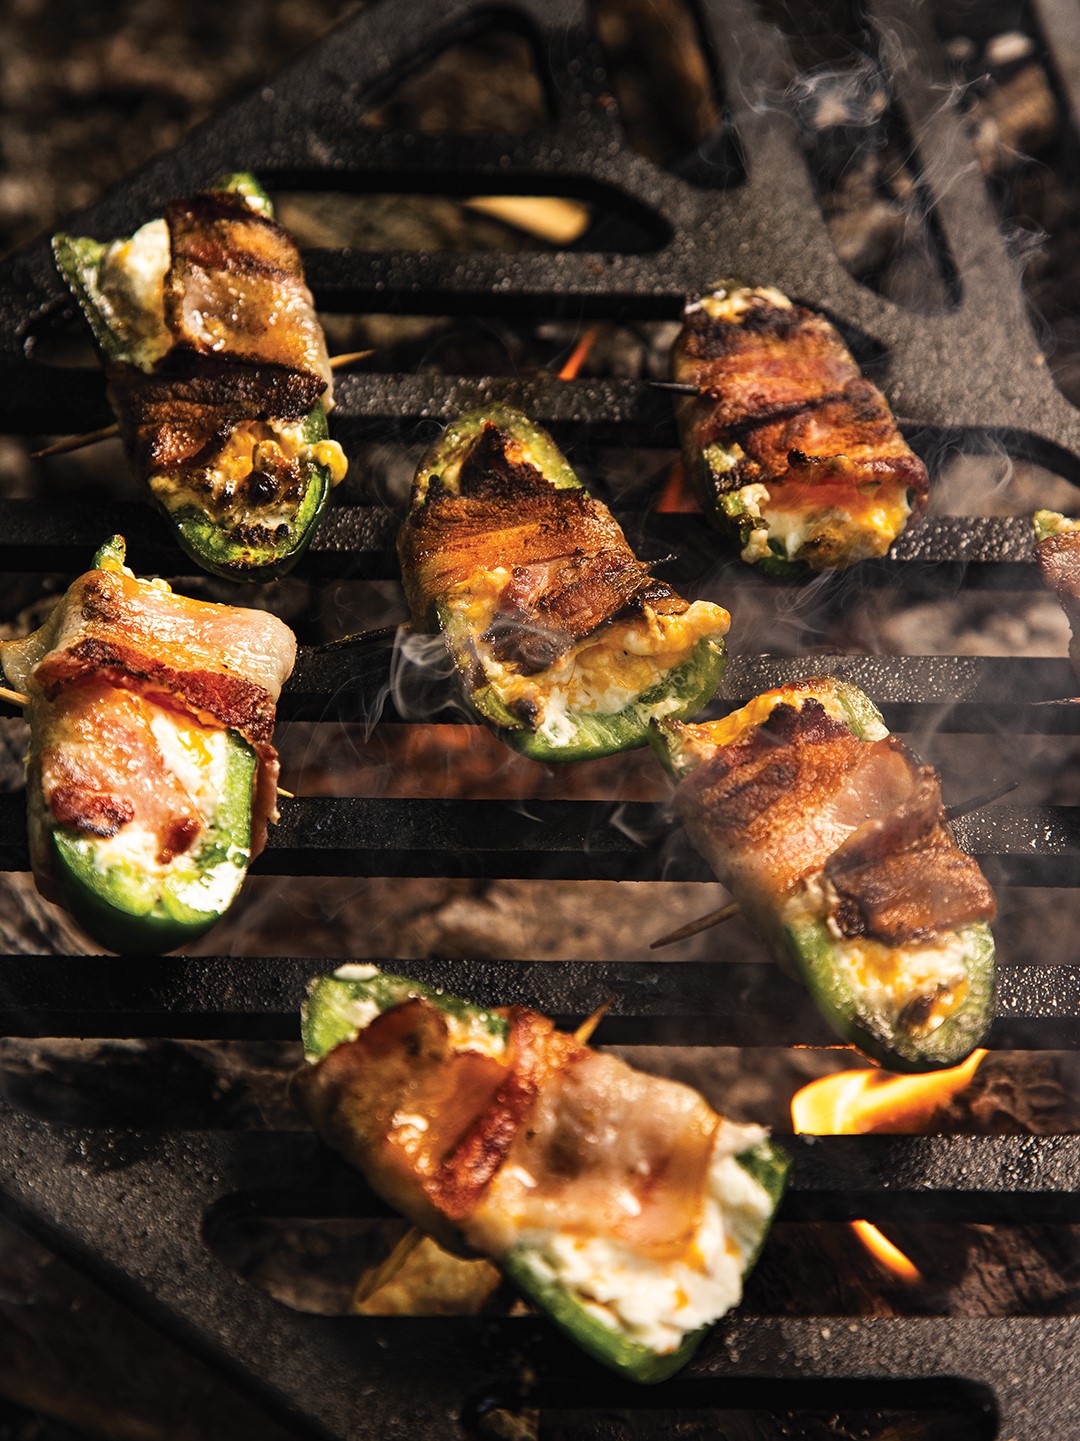
These poppers are great for a group sitting around the campfire because they’re easy and fun to assemble, and they don’t require silverware to eat! Tips: Use a grill grate, and it helps to throw in a few pieces of charcoal to maintain the heat. Let the charcoal sit off to the side of the main fire for about 10 minutes before starting to grill the poppers.
- toothpicks (Soak in water if using wooden toothpicks.)
- 4 oz. cream cheese
- ½ cup cheese, shredded (I use American, cheddar or Monterey Jack cheese.)
- 8–10 jalapeños
- 4–5 slices of bacon, halved
Mix the cream cheese and cheese. Remove the tops of the jalapeños, cut them in half lengthwise and discard the seeds, using a spoon. Spoon the filling into the jalapeño halves, trying not to overfill them. Wrap a half of a slice of bacon around the filled jalapeño, and secure with a toothpick. Place the jalapeño halves, cheese side down, on the grill grate for 7 minutes; flip them over for another 7 minutes or until the bacon is crispy to your liking.
S’mores Cones
- sugar or waffle cones
- mini marshmallows
- chocolate chips or Halloween-colored chocolate-coated candy
- Graham crackers, crushed
- extra candy toppings, such as candy corn or peanut butter cups, optional
- aluminum foil
Fill your cone with a combination of marshmallows and your choice of chocolate and candy. Wrap each cone in aluminum foil. Place over the campfire for 3–5 minutes, turning occasionally with tongs. You want everything melted and gooey inside. Remove from fire, and set aside to cool slightly. Unwrap carefully, and enjoy!
Scary Delicious
Placing a portable firepit front and center of Halloween candy distribution efforts is becoming de rigueur for some families. Driveways and extended front yard patios serve as ideal spots to greet trick-or-treaters.
While you wait for the Halloween revelers to make their way to your home, how about noshing on spooky twists of hot dogs to keep your spirits high and appetites at bay for a full night of treat distribution? Adam Johnson, executive chef and part-owner of Stonehouse Catering and Stone & Oak, offers a recommendation.
Mummy Dogs on a Stick
- crescent roll or biscuit dough
- hot dogs or veggie dogs
- mustard or ketchup (for eyes)
- skewers or roasting sticks
Unroll crescent dough, and cut it into thin strips, resembling mummy bandages. Skewer each hot dog lengthwise on long campfire cooking skewers. Wrap the dough strips around each hot dog, leaving a little gap near the top for the “face.” Place the skewered Mummy Dog over the fire (not directly in the flames), and rotate it until the dough is golden and cooked through, about 5–7 minutes. Once slightly cooled, use mustard or ketchup to dot on little mummy eyes in the gap before serving.
Stonehouse Catering and Stone & Oak Restaurant
4466 Centerville Road
Facebook: Stonehouse Custom Catering
Instagram: @stonehousecateringmn